MyNYC Pillow Panel Blog Hop
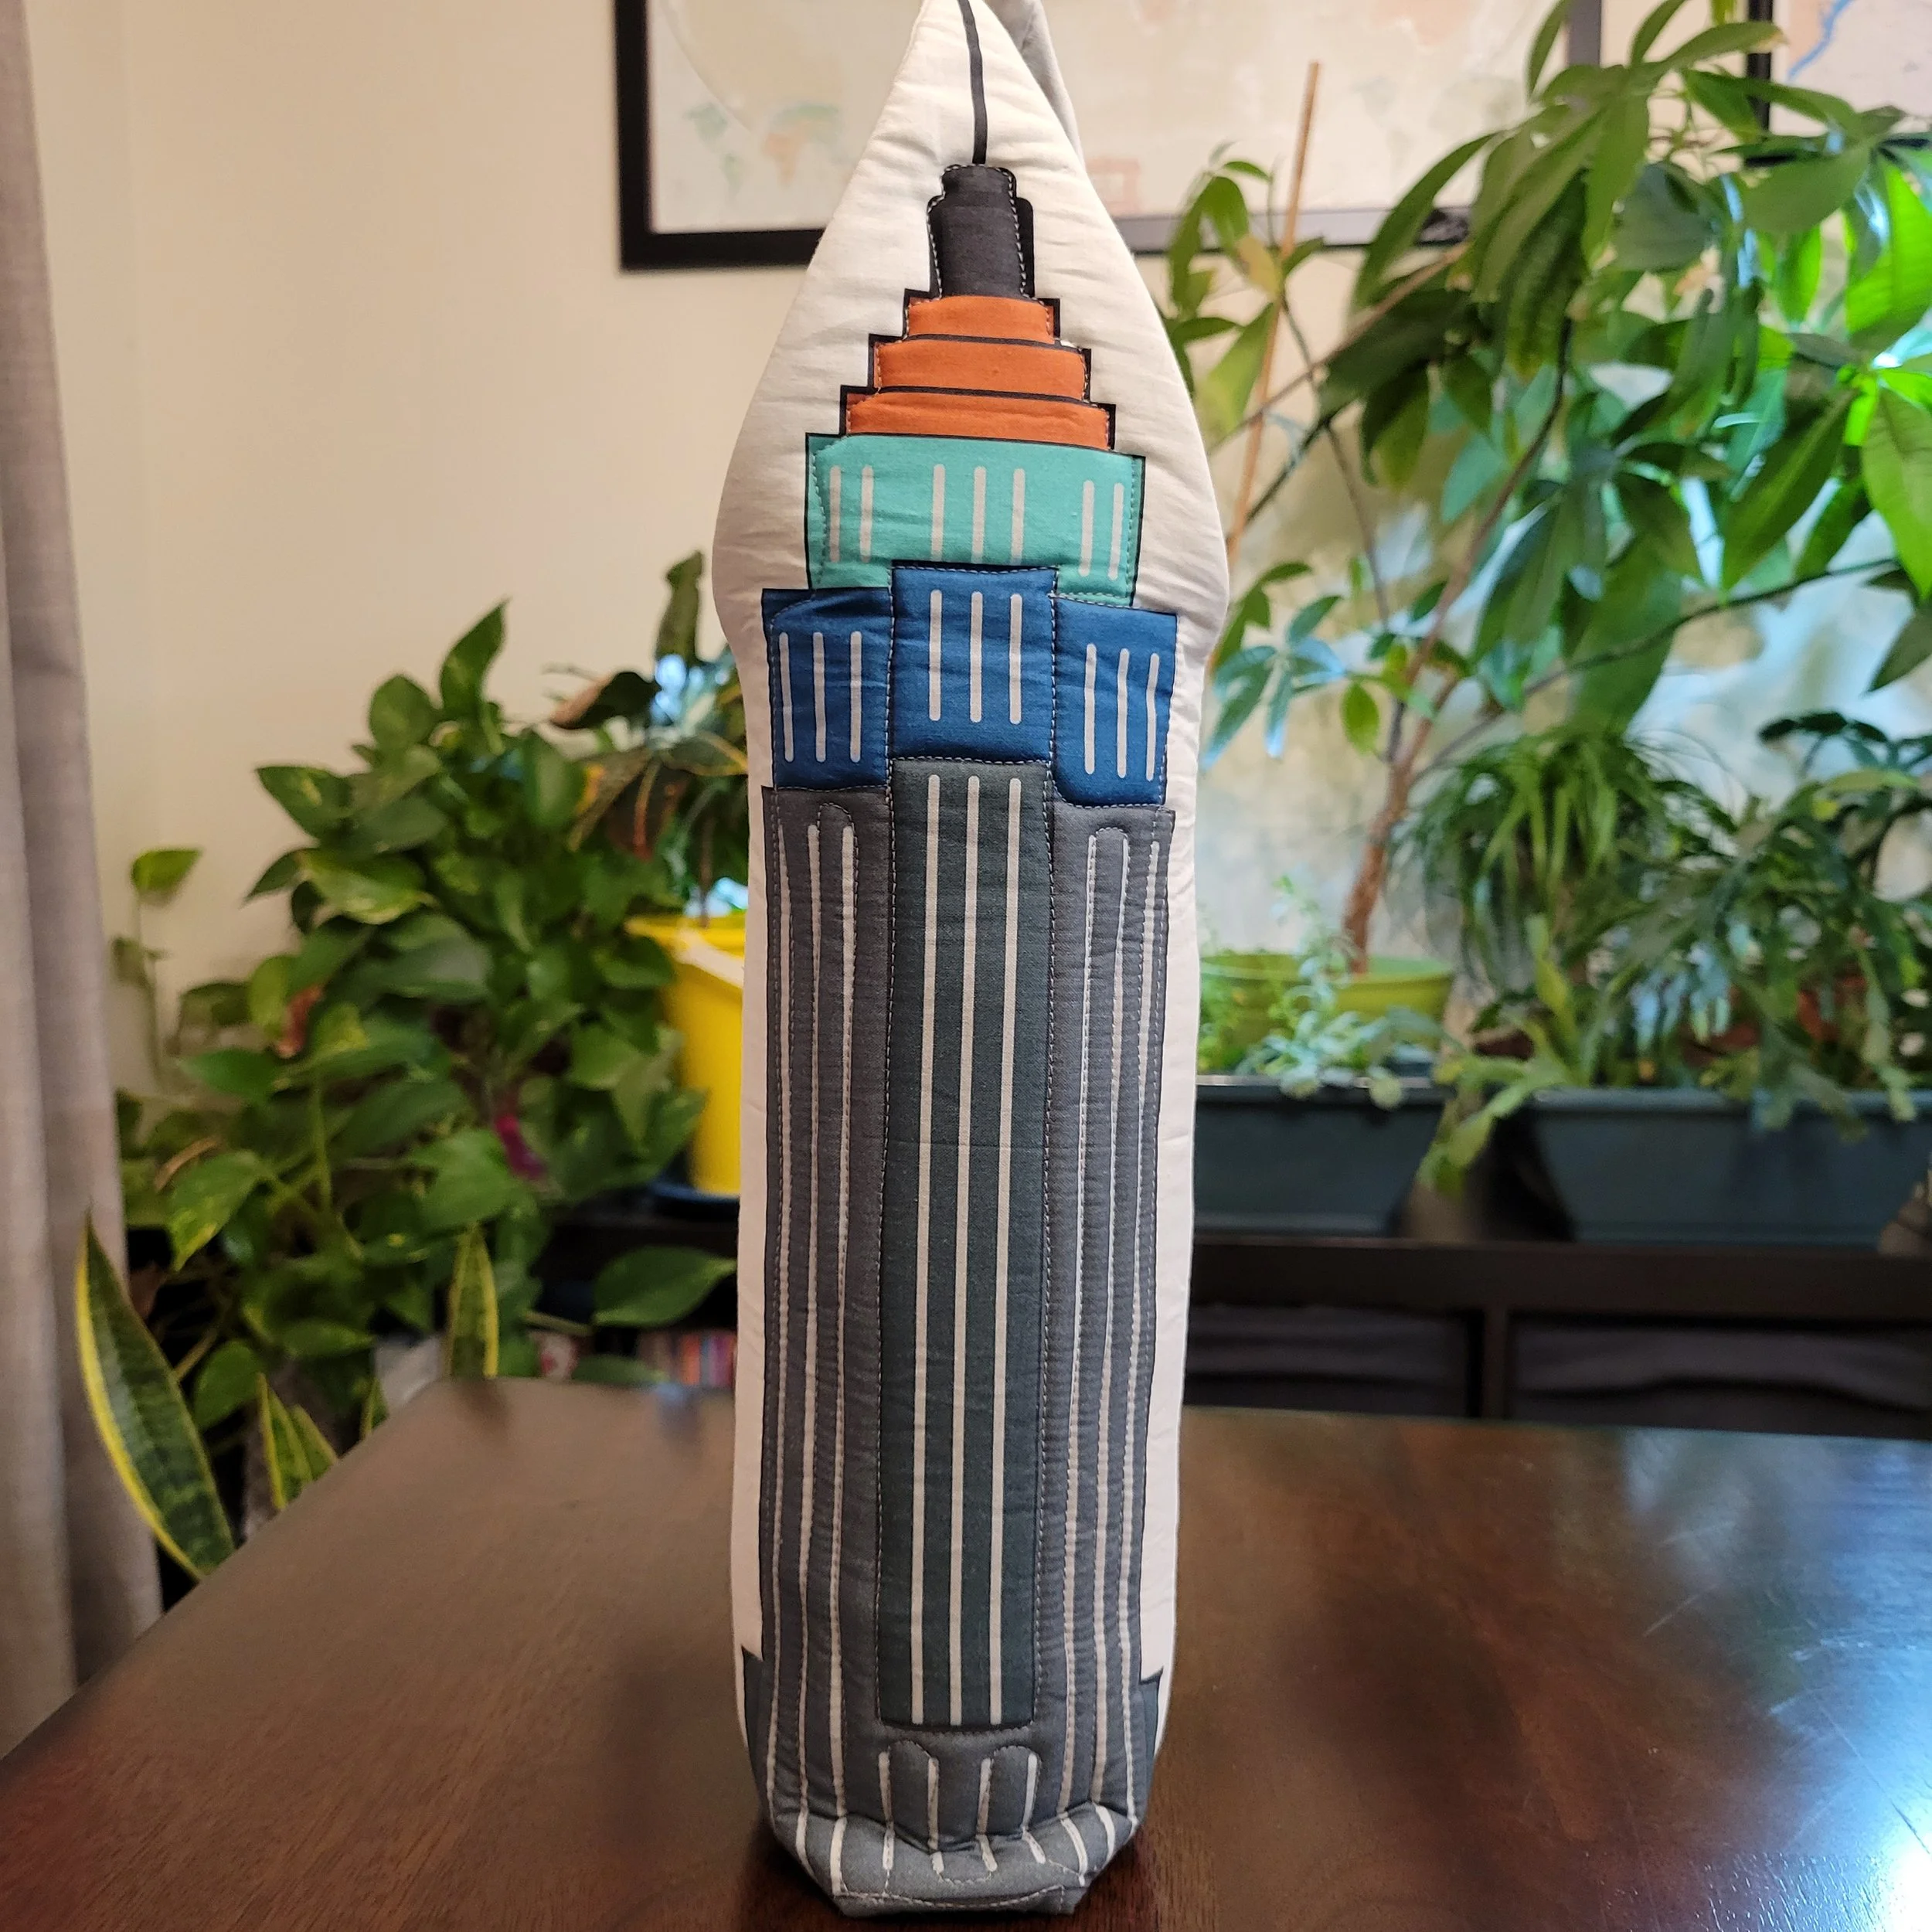
Hi Folks! Welcome to Day 6 of the MyNYC Pillow Panel Blog Hop. If you have been following along you have seen some fantastic ideas for different ways to use the Pillow Panel (hello holiday sewing and thank you Gotham Quilts!) and I am going to be adding one more. I couldn’t resist the Empire State Building, I’m always a big architecture fan, and there is nothing quite as iconic. Of course it is all well and good to know that is the icon I wanted to work with, but I had no idea what to make initially. Thankfully a well timed gift helped me figure out the perfect project, a wine bottle holder!
Ideal for a hostess gift, adding to a gift basket or a date night (who else remembers the whole meet me at the top of the Empire State Building?), this is a surprisingly simple project. And you don’t have to limit yourself to a bottle of wine; you could add gourmet cooking oils, or spices.
To make a three dimensional building, you will need two panels (but really you have so many things to make now, you are going to need to get at least two panels so this isn’t a problem). Cut out both Empire State Buildings along the dotted (dashed?) line. Next grab your lining fabric and some ByAnnie Soft & Stable. I like using the Soft and Stable because it provides a lot more stability (this absolutely will stand on its own). I found that a piece of fabric (16” x 28”) and a piece of Soft and Stable (14” x 27”) worked well. But if you have two smaller scraps that will work, go for it.
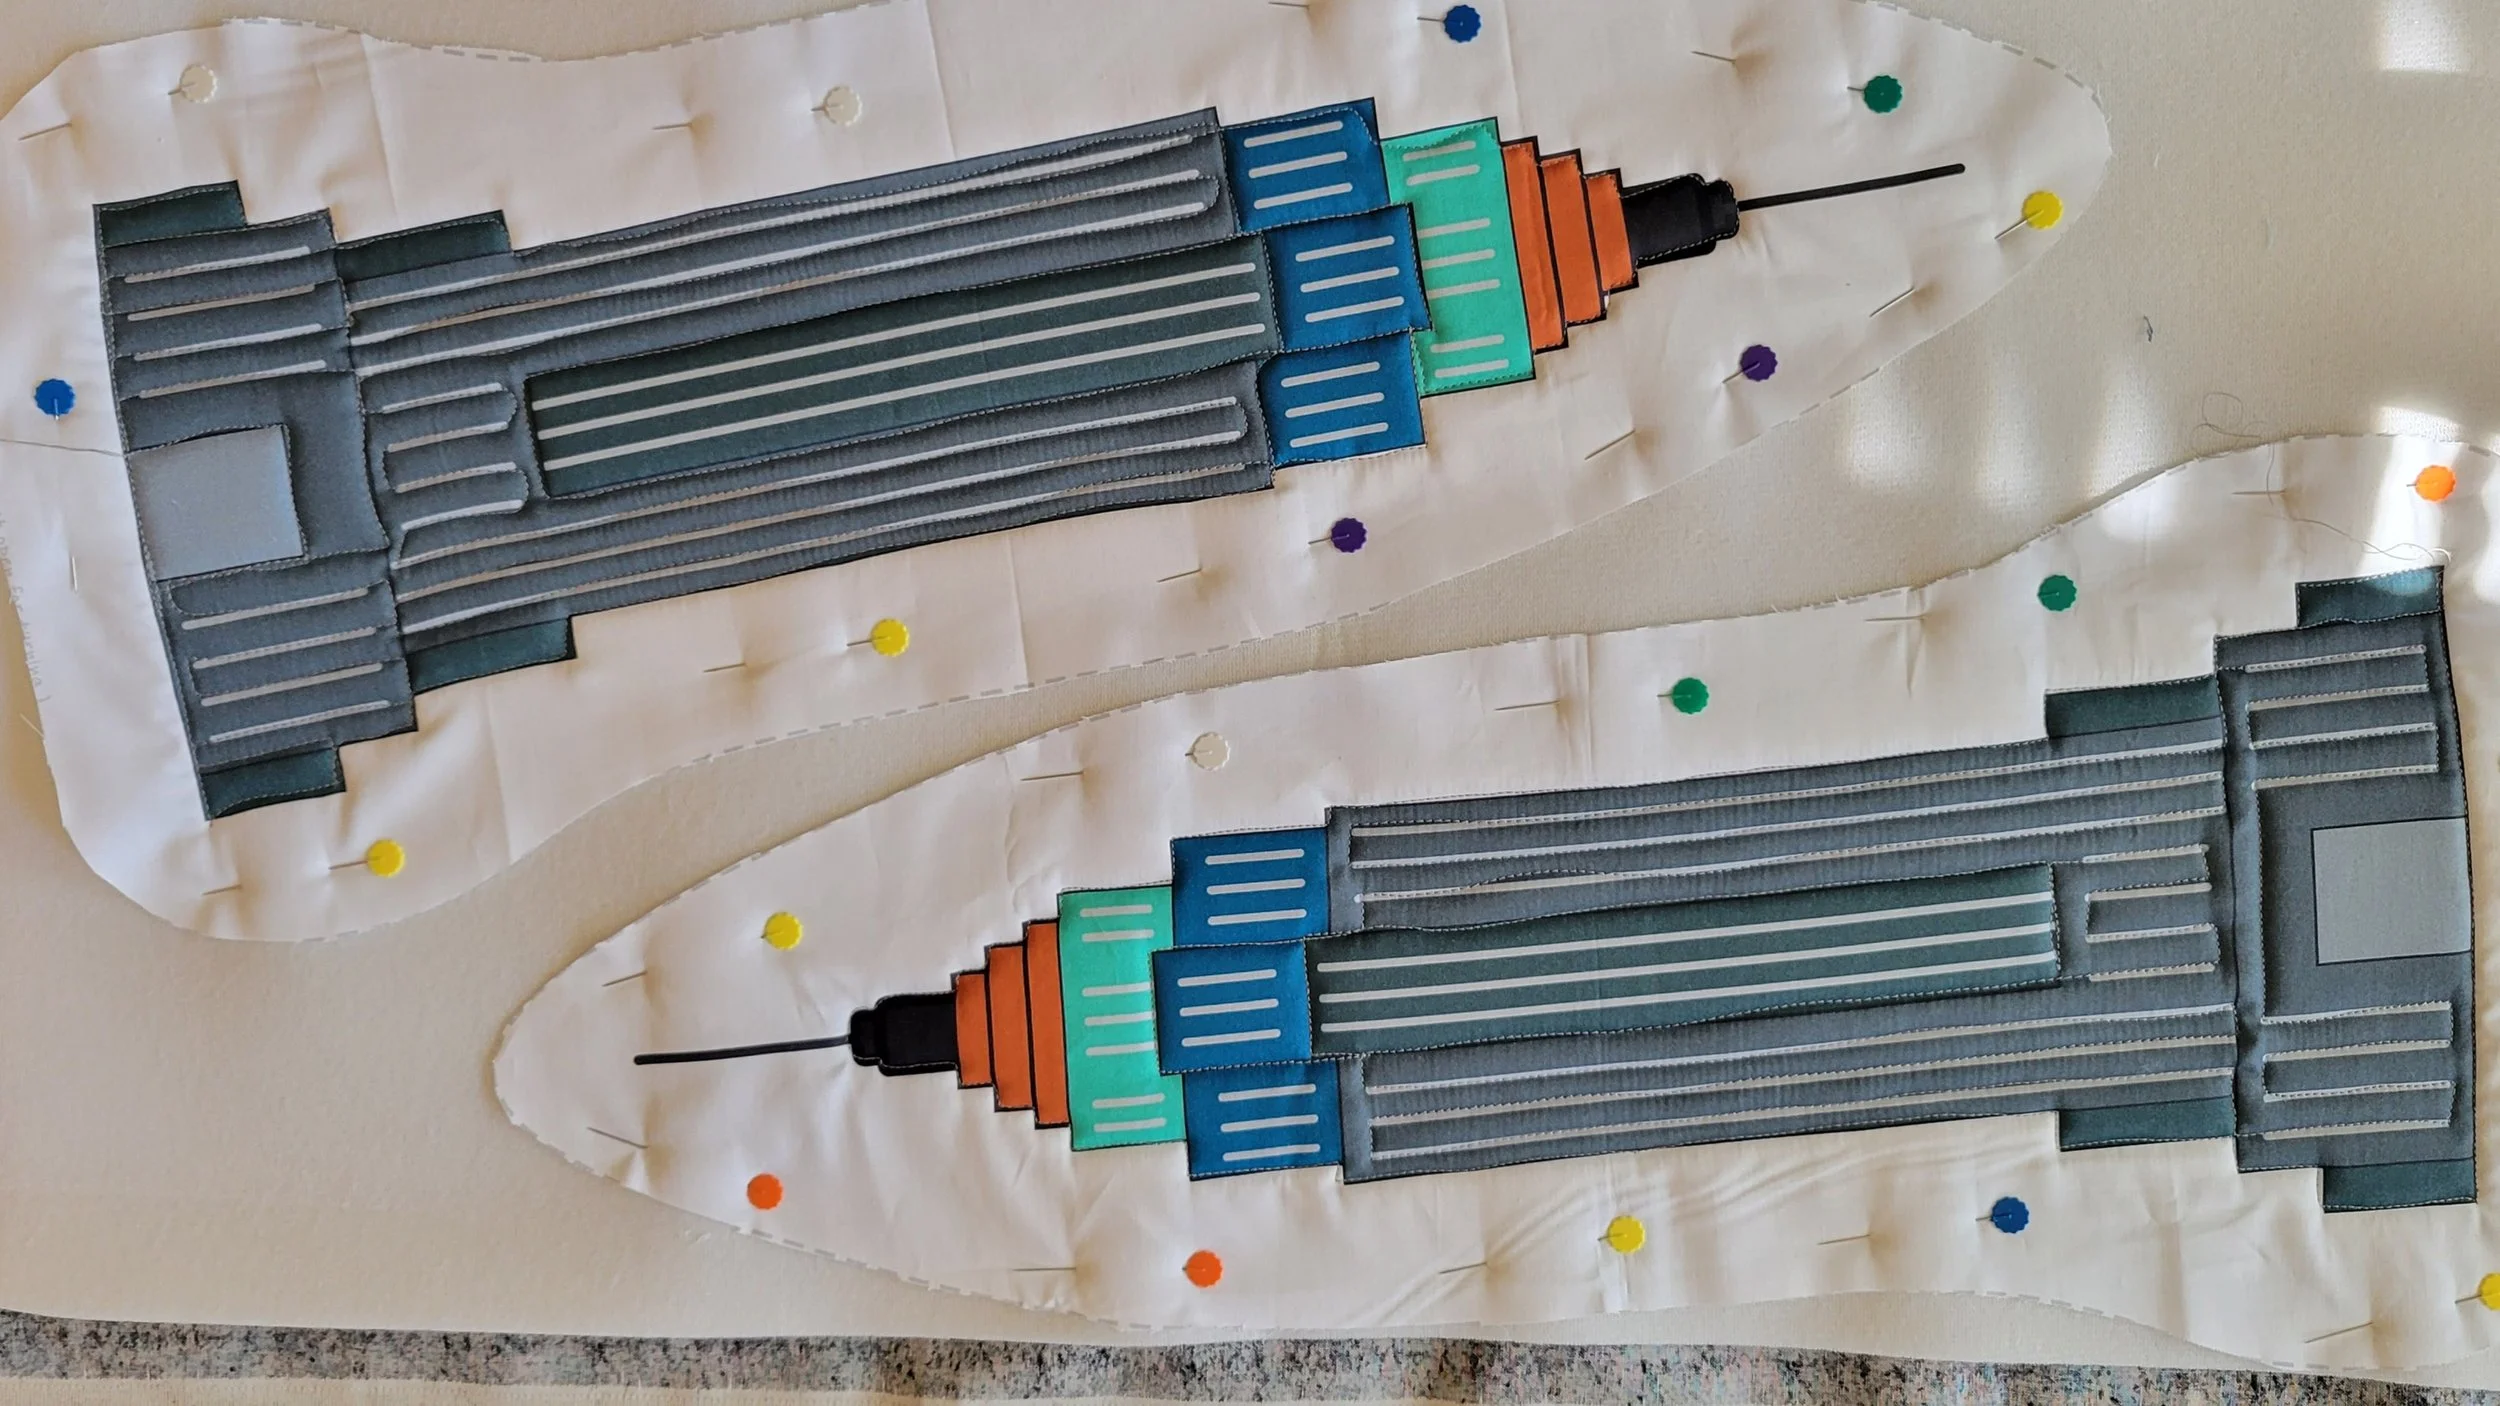
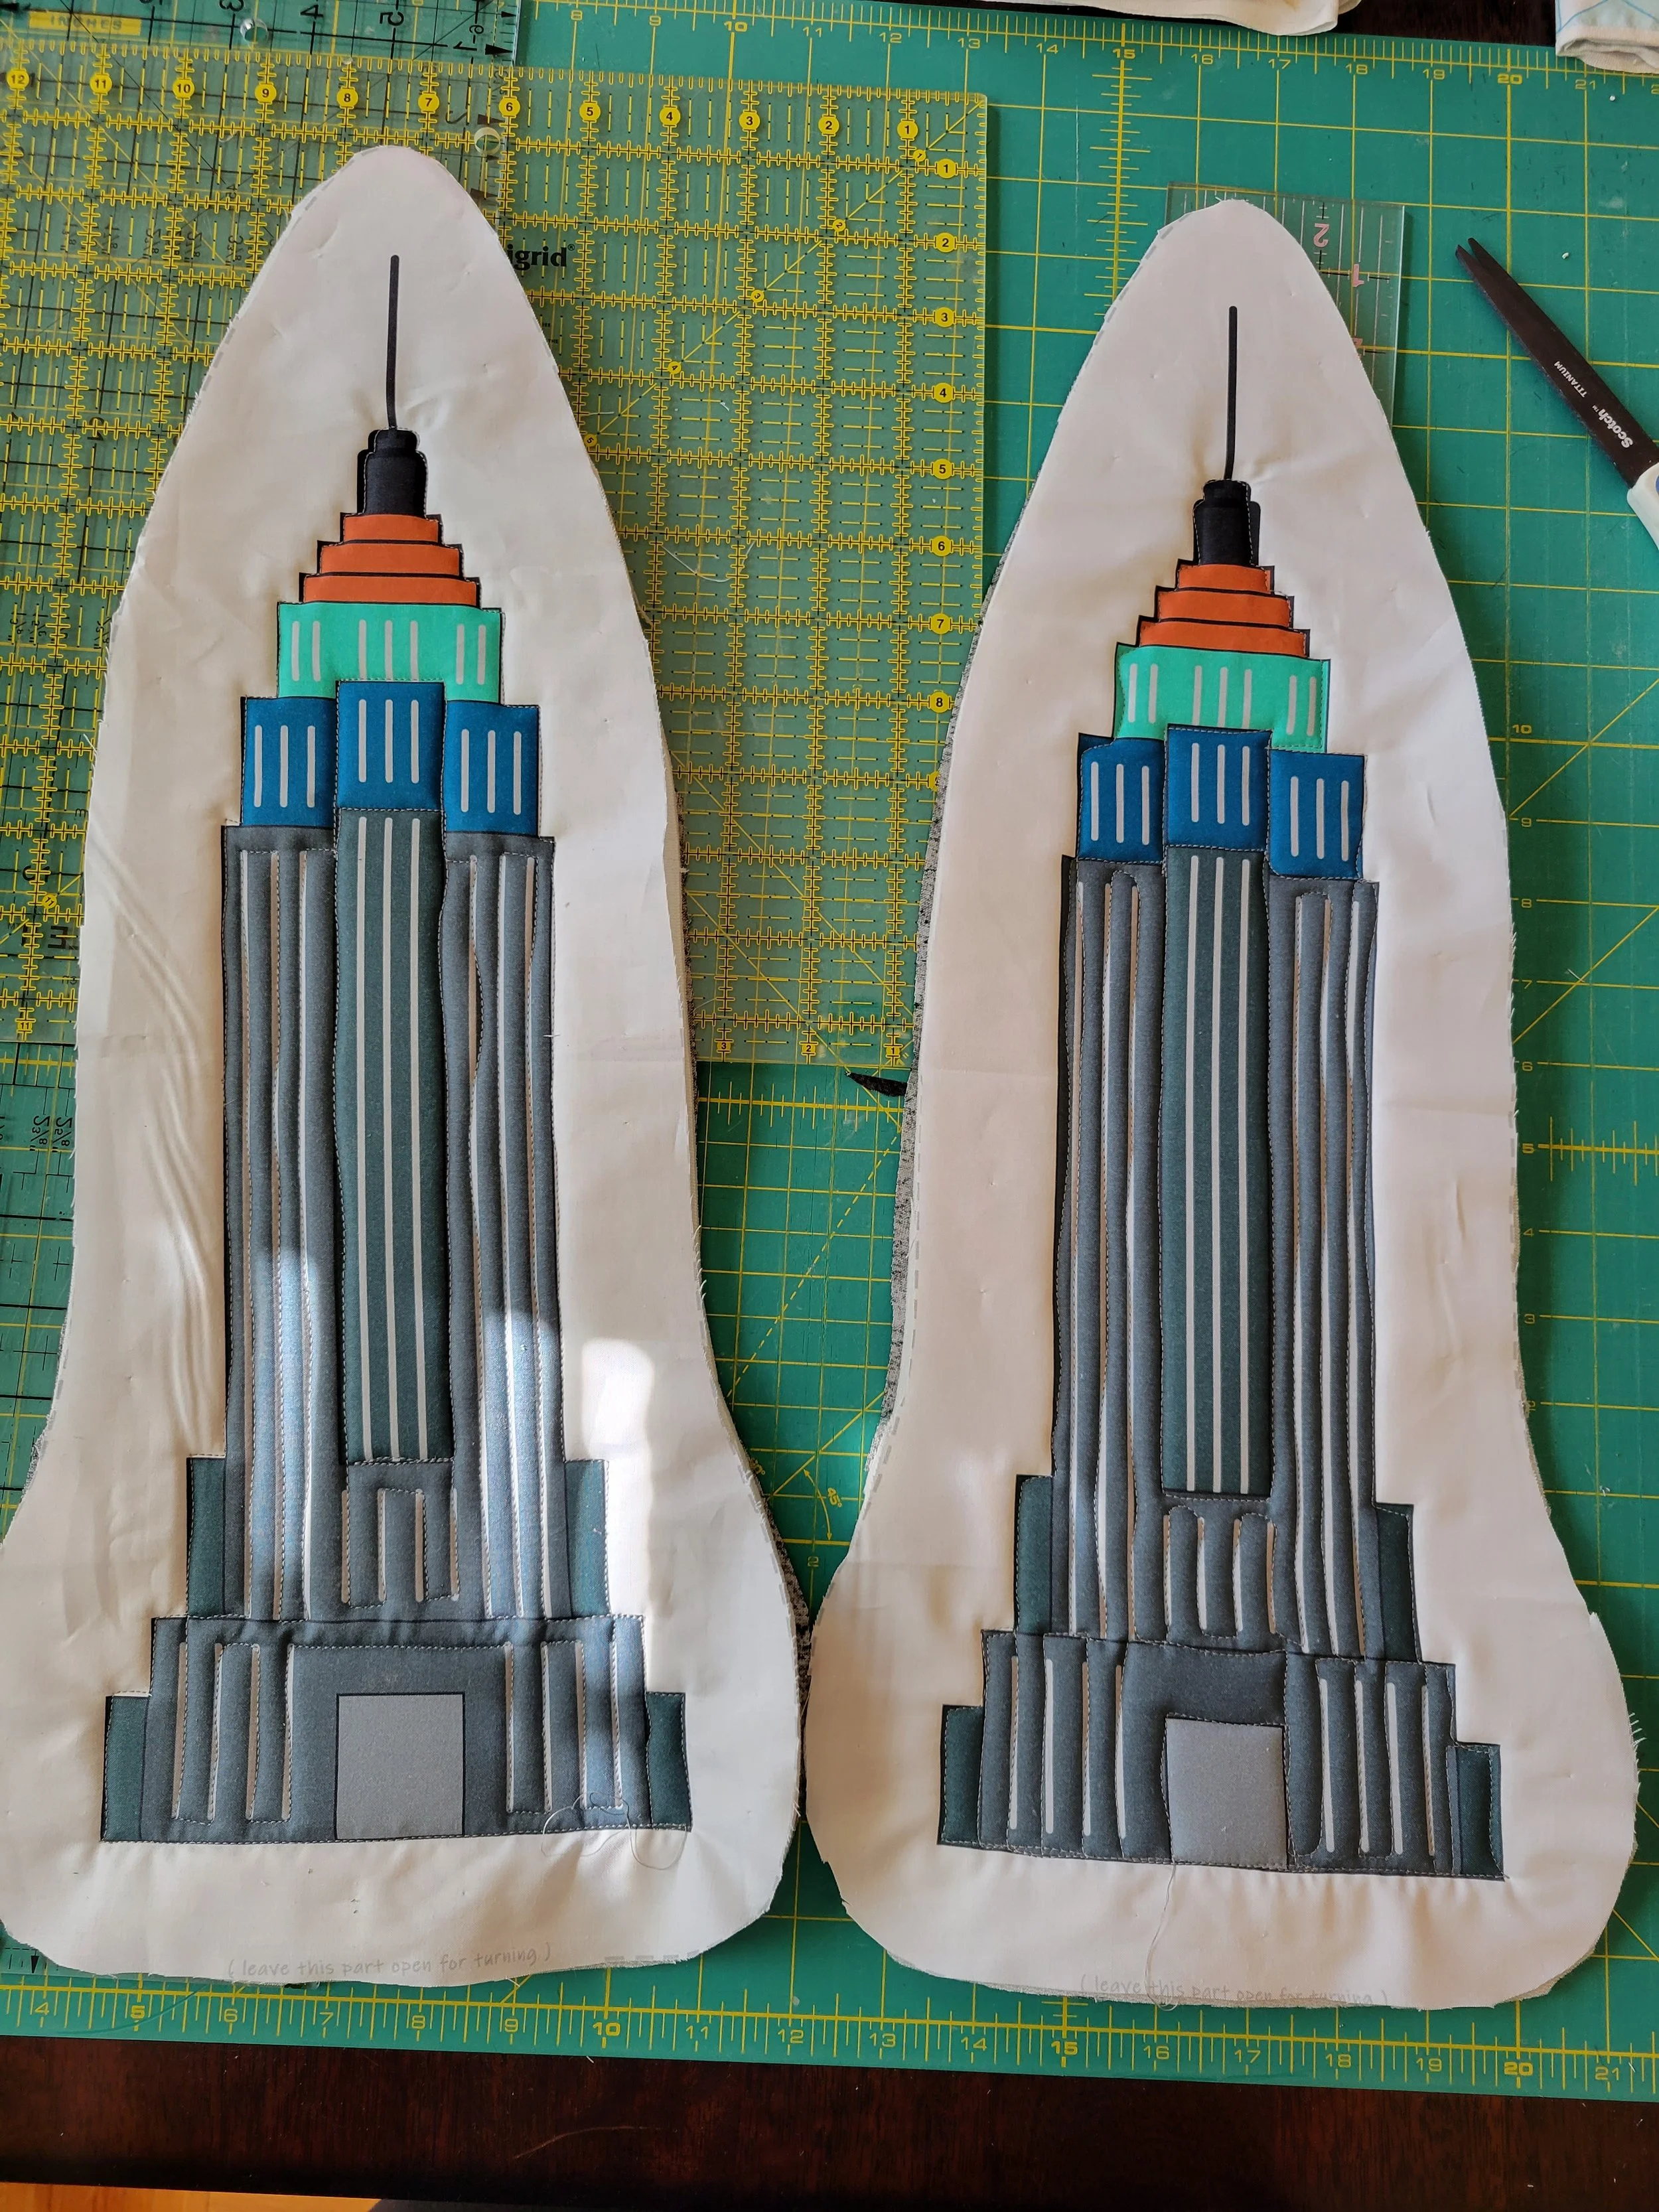
You will want to quilt the three layers. I outlined each building and then quilted down the window lines. To keep it really simple just do vertical lines down the building to help accent the height of the building. Once you have everything quilted, cut out the buildings again along the dotted line and prep for the first set of trimming. I tried to make the trimming as simple as possible so almost everything is measured off of the building itself. You want to trim 1 ½ inches from the large midsection on both sides, and ½ inch from the bottom. And now you can relax and do a little sewing!
With right sides facing, sew both sides and the bottom using a ⅜” (or there about) seam allowance. Go slowly since there are a lot of layers that you are going through. Next is another round of trimming (but this is the last trimming that you have to do). Start with the bottom and measure 1 ½ inches in from the side and up from the bottom to trim out the squares for boxing the bottom. On the top to create the point you want to measure up from the center to the top and mark. Then measure out to the sides from the first top building tier. Trim a diagonal line from each side to the top center point. Once you have the triangle, you can trim the point down so you have a ¾” flat line at the top.
The trimming instructions look really complicated written out here, but it is really just a few quick cuts and the pictures above are a big help to clarify everything for the cutting. With all the trimming done, just stitch your box corners. If you would like you can do a hand binding on these seams. Next is turning it right side out. When I went to do this I thought it would be incredibly difficult but, it is actually really pliable and turned without an issue. Very last step is adding the binding around the top. I opted for a white binding to blend in with the background but you could also go for a great contrasting color at the top as well. Congratulations on your finished wine bottle holder!
Now you are ready for gifting, or to have your own NYC reminder. I am also sitting here looking at the wine bottle holder and thinking that this would also make a wonderful doorstop. Just fill a bottle with rice or beans, stick it inside and you are good to go. Even better, when it gets dirty it can be washed! I may end up doing this myself.
Thanks for joining me and checking out this project! Make sure you check out everyone else’s great ideas. You can see the complete list here:
November 1: Dizzy Quilter www.dizzyquilter.com
November 2: Swan Amity Studios https://swanamity.com/blog
November 3: Lovingly, Lissa https://lovinglylissa.com/
November 3: The Darling Dogwood http://thedarlingdogwood.blogspot.com/
November 4: Fish Museum and Circus https://fishmuseumandcircus.com/blogs/tutorials
November 5: CDM365 Studios www.cdm365studios.com
November 5: Geometry And Joy www.geometryandjoy.com
November 6: Slice of Pi Quilts https://www.sliceofpiquilts.com/
And stay tuned - I have more projects in the work, new quilt patterns and more pillow panel projects. Friends and family have already put in requests for a pizza rat purse and taxi project bag. Happy Sewing!
Until next time,
Siobhan


